Learn new crochet tricks while making
beautiful crafts you can't wait to show off!

How to Crochet the Mini-C2C Stitch
Do you like the grid look of the C2C stitch, but the squares are too big for the project you want to make?
The mini-C2C stitch comes to the rescue! The mini-C2C stitch uses half-double crochet (hdc) stitches instead of double crochet stitches to make smaller squares.
To do the mini-C2C stitch, start with chain 4, then hdc in the last 2 chains from the hook. This makes the first row, and the first square. The second row starts with chain 4, then hdc in the last 2 chains from the hook, just like the first row. Then, to create the unique construction of the C2C stitch, flip the first row/square so that the chain-2 on the side is now on top! Next, slip stitch into the chain-2, then chain 2 and do 2 hdc in the same chain-2. The subsequent rows are similar to the second. Keep adding diagonal rows until the piece matches the dimensions you want. Then, start decreasing to close the rectangle shape.
To decrease, start by turning without a chain, and slip stitch in each of the 2 hdc you just crocheted, and in the chain-2 space. Then, chain 2 and do 2 hdc in the same chain-2 space. Slip stitch in the chain-2 on top of the next square, then chain 2 and do 2 hdc in the same space. Continue making the steps until you’ve reached the next to last square. Slip stitch in the chain-2 on top of the last square, and stop there. The remaining rows are made the same way, until you end with the final square in the opposite corner from where you started.
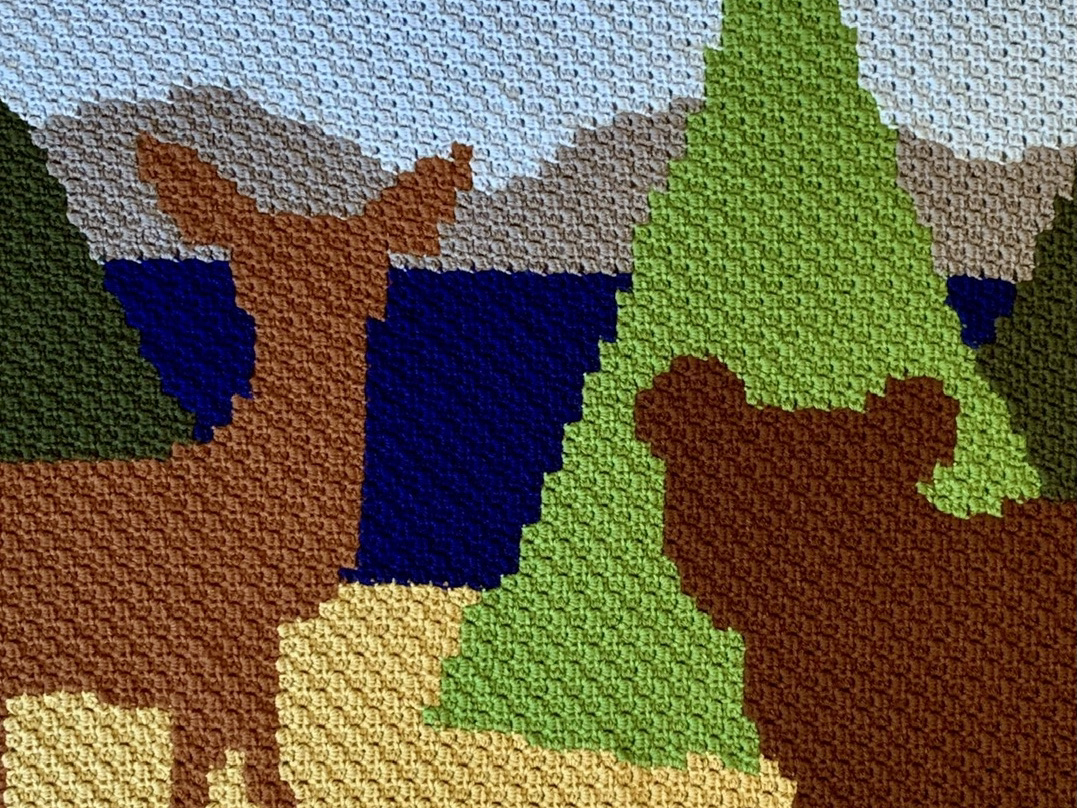
Like the larger C2C stitch, the mini-C2C stitch creates interlocking squares with stitches that face different directions, like a basketweave pattern. As a result, you can assign colors to each square to create an image. Because the squares made by the mini-C2C stitch are smaller, you can create a more detailed graph in the same amount of space.
Watch this video to learn how to crochet the mini-C2C stitch:
Put this stitch into practice with these patterns:


